If you have not added your first domain (your website) to the platform, you must do this first. Click here to add your first domain.
Now you have added your first domain, we should add our first competitor.
On the left-hand menu, select “Add competitor” to get started.

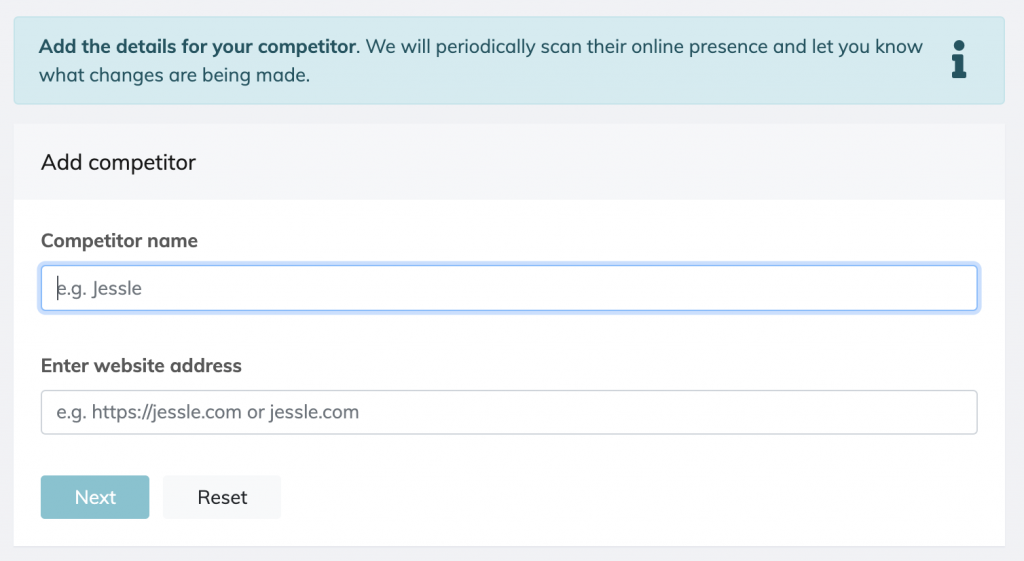
You should now see the first stage of our “Add competitor” wizard.
Here we should add a friendly name for this competitor which will be displayed when showing results for this competitor. You should also insert the web address (URL) for this competitor here.
For example, Amazon may have a competitor with the name of eBay and a website address of https://ebay.com.
Click “Next” and Competito will begin validating this web address and finding useful information about your competitor, before sending you to Screen 2 of the “Add competitor” wizard.

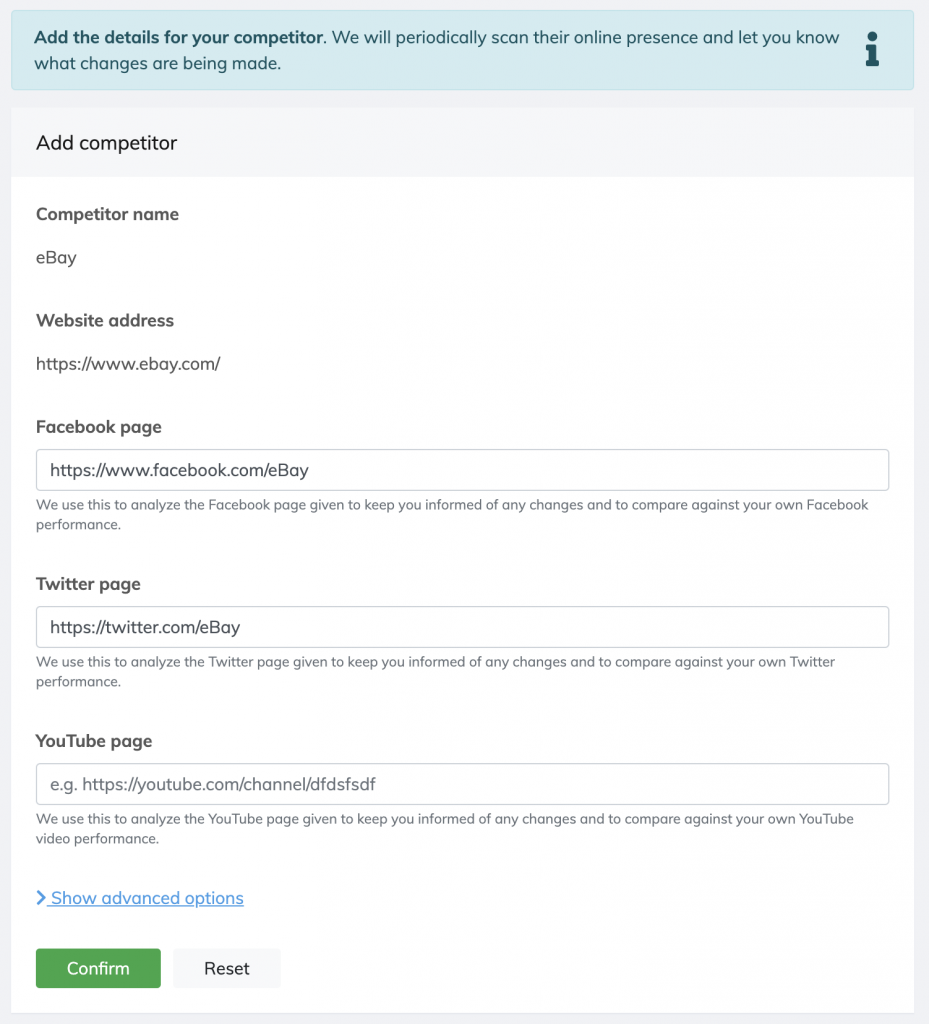
Competito has tried to be clever here and pre-filled any information found about this competitor. Please review this information and fill in any blanks as required.
Take note of the “Show advanced options” block. Here are some configuration options that you may want to edit, but it is not required.
One item in this section that may be useful is the ability to block certain URL paths. For example, you may not care about product listing pages and can add those to be ignored from the analysis.
Once you are happy, select “Confirm” and your competitor will be added.
Competito will now begin monitoring your competitor to alert you to changes they make.
Next steps: Learn what Competito is doing whilst monitoring your competitor for the first time.
